How to photograph your garden for an AI design
Photographs are the strongest part of your brief. They tell the AI where your house sits, how wide the garden is, where the light falls and what already exists. Ten minutes with a phone camera changes the whole result.
7 min read · MyGardenova
The five photos every garden needs
Start with a small, deliberate set rather than many similar shots. These five cover most gardens and give the model enough overlap to understand the shape of the space.
- From the house looking out. Stand in the main door or window and capture the full width of the garden.
- The reverse view. Walk to the far boundary and photograph back towards the house.
- Left side. Include the boundary, the ground and anything built against it.
- Right side. Same again, so both edges are visible.
- The problem corner. The wet patch, the steep step, the bins, the view you want screened.
How to hold the camera
- Shoot landscape, not portrait — gardens are wider than they are tall.
- Hold the phone at chest height and keep it level; tilting up distorts the ground plane.
- Stand back far enough that ground, boundary and sky are all in the frame.
- Turn off panorama, fisheye, portrait blur and heavy filters.
- Wipe the lens. A smeared lens softens exactly the detail the model needs.
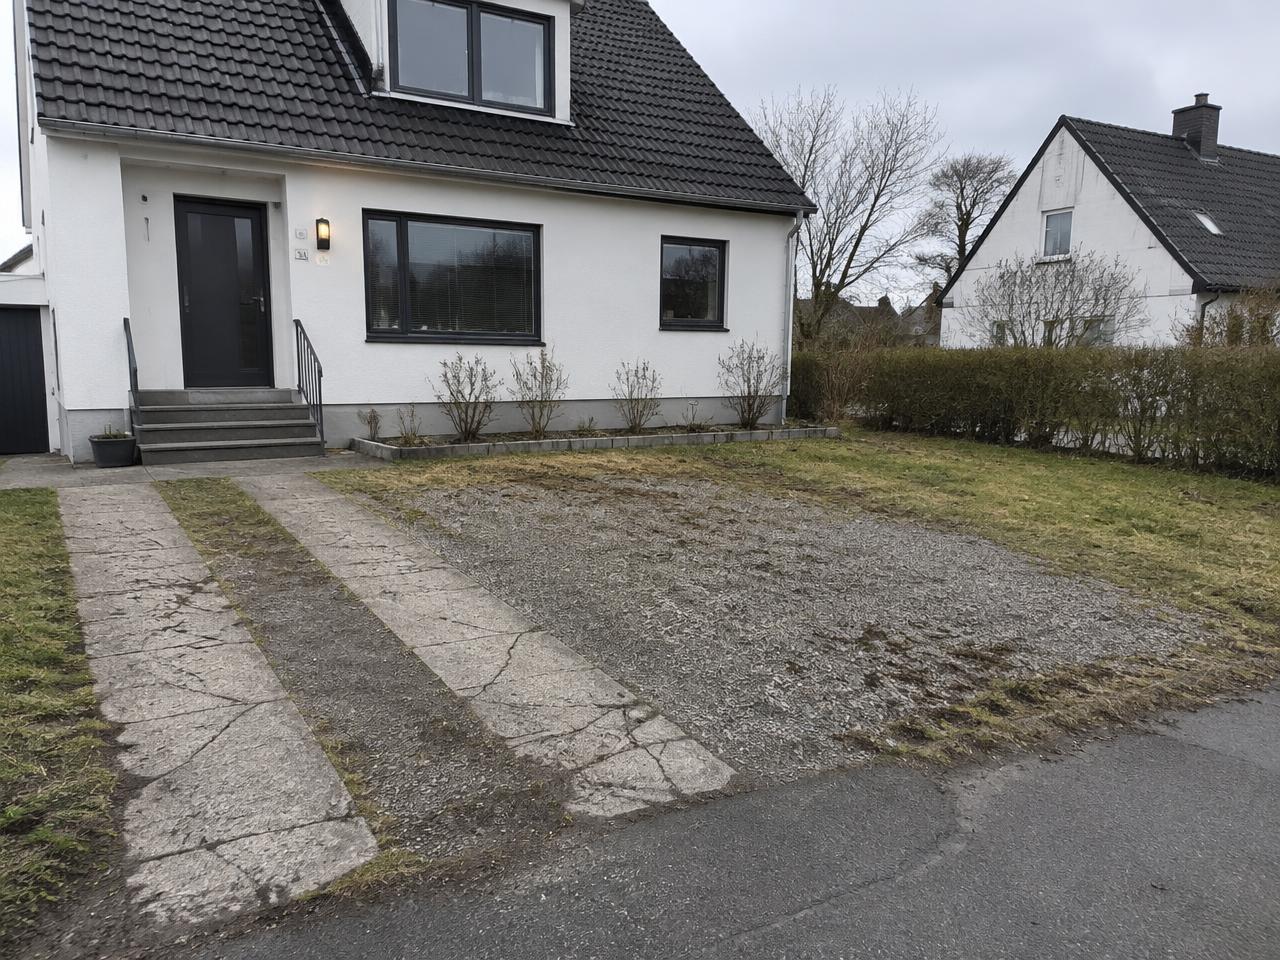
Before — the photo you send
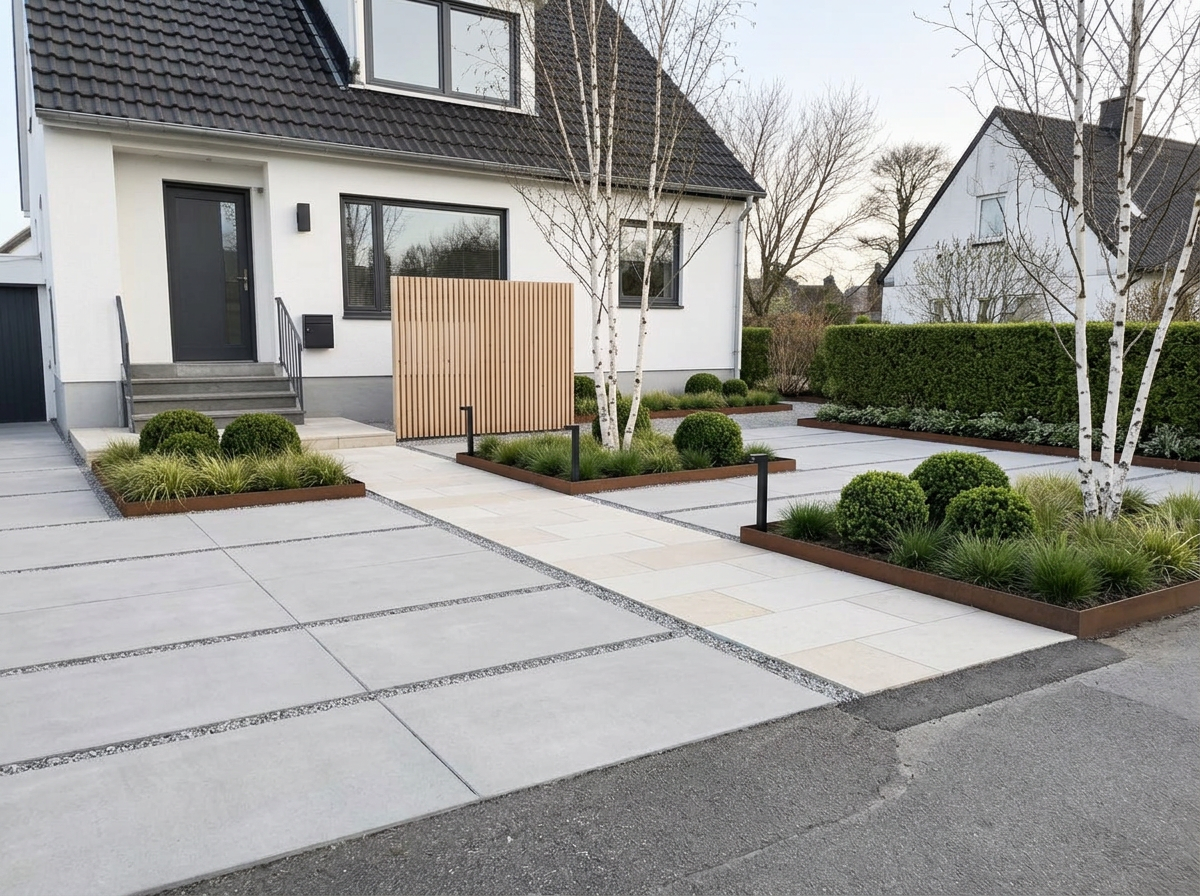
After — AI proposal
Light and weather
Overcast daylight is ideal: it shows true colours and avoids hard shadows that hide surfaces. Bright midday sun creates black shadow areas the model has to guess at. Avoid dusk, rain on the lens and snow cover — snow hides the ground entirely, which is the single most important surface in a garden design.
- Best: bright but cloudy, mid-morning or mid-afternoon.
- Acceptable: clear day, as long as shadows do not cover half the garden.
- Avoid: dark evenings, artificial light only, heavy rain, deep snow.
Show the things that cannot move
Most disappointing results come from features the model never saw. Photograph anything fixed, even if it feels unglamorous.
- Drain covers, manholes, gullies and downpipes.
- Meter boxes, outdoor taps, vents and air-source units.
- Steps, retaining walls and every change in level.
- The access route: side gate width, alley, or whether everything must pass through the house.
- Mature trees and their trunks, including the ones you want kept.
Sketches and plans help more than extra photos
A hand-drawn rectangle with the width, length and door positions written on it is worth more than five more camera angles. If you have a site plan, deed plan or estate-agent floor plan, photograph or upload it. Label north if you know it, or simply write where the sun sits in the afternoon.
Inspiration images: label them
Upload inspiration separately from your own garden and say what you like about each one. “I like the pale timber and the gravel edges, not the pool” is far more useful than an unlabelled folder. Without labels, the model has to guess which part of the picture you meant.
A quick checklist before uploading
- Four to eight photos, landscape, level, in daylight.
- The whole garden is visible across the set, with overlap.
- House, boundaries and ground appear in at least one wide shot.
- Fixed items and problem areas are each photographed close up.
- A rough sketch with dimensions is included.
- Inspiration images are marked as inspiration and explained.
With that set in hand, write the brief itself using our guide to briefing the AI garden model. Every proposal comes back as two coordinated views so you can see how the areas connect.
More guides
- Small backyard design ideas that actually fit
Layout ideas for small backyards: zones, seating, screening, planting and materials — with AI before and after examples.
- Scandinavian garden design: a practical guide
What makes a Nordic garden work — pale timber, gravel, grasses, birch and restraint — and how to apply it to your own yard.
- How much does garden design cost?
Typical costs for garden design and common build elements, plus how an AI garden design fits into the budget.
- How to brief an AI garden design model
A practical, copy-ready guide to describing your space, needs and style so an AI garden model can create a useful proposal.
- How to describe garden style and materials
Plain words that actually change a design: decking, gravel, pavers, cladding, screens and planting — with word-by-word examples.
- Measurements and site details to send with your brief
How to measure a garden without a surveyor, and the sun, slope, drainage and access details that make an AI proposal buildable.
- How to ask for revisions that improve your design
Write revision requests the AI can act on: what to keep, what to change, one group of changes at a time, with ready examples.